


This guide documents how to install NixOS on Raspberry Pi 4 with an encrypted root filesystem.
Background and Motivation
First, a little bit of background:
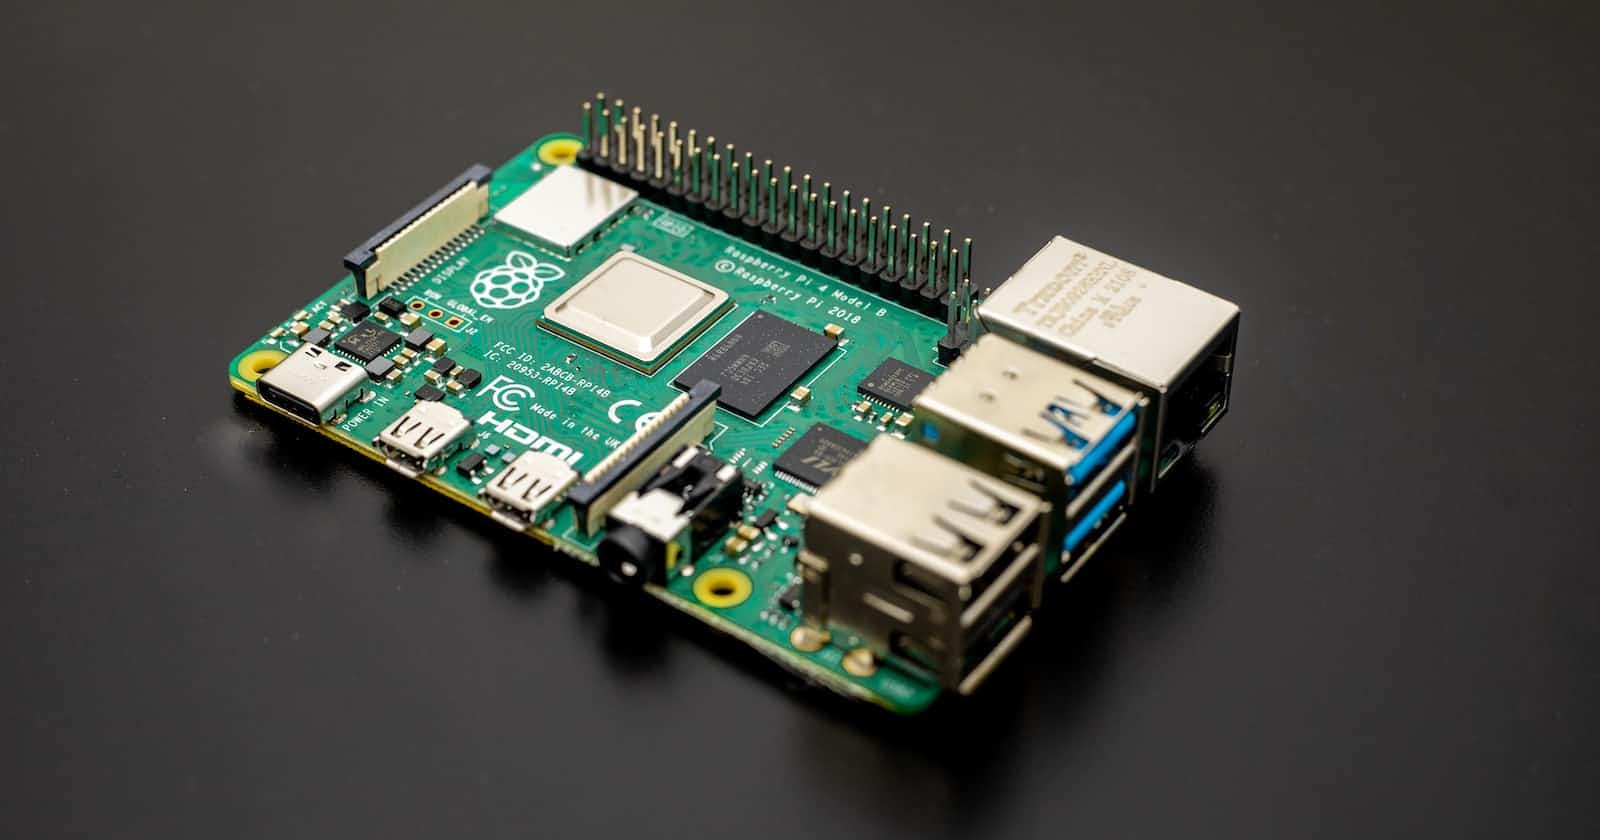
- Raspberry Pi 4 is a single-board computer based on ARM architecture with enough CPU power and RAM capacity that allows running a good deal of computational tasks.
- NixOS is a GNU/Linux operating system distribution that is built on top of the Nix Package Manager enabling users to declaratively configure their systems and reproduce such configuration on different hosts or the same host over time using rollbacks.
- The encrypted filesystem is a security practice that allows users to encrypt their entire root filesystem or parts of it to ensure that third parties can not extract information without the encryption key from the underlying media (physical or virtual) once taken offline.
I have access to a Raspberry Pi 4 with 8GB of RAM and an external SSD. It proved to be quite usable as a workstation. I tested it to see if I can:
- run productivity tools such as a Web browser or an office suite,
- perform work activities such as Haskell development using Emacs and
lsp-haskellor React-based Web application development using VS Code, and - deploy services using Docker and Docker Compose.
To my surprise, I found it quite usable. A significant number of tasks can be performed without noticing that the host is a computer costing less than 100 dollars. It should be noted that SSD is quite critical, though. Because using a micro-SD card for the root filesystem will ruin the entire experience.
On the other hand, I can reproduce my NixOS-based workstation configuration easily on different hosts. I already have almost identical workstations in my reach. Almost, because certain states can not be easily reproduced or the benefits are not worth the hassle (such as ad-hoc data files, Web browser cache or ephemeral development, build and testing artefacts).
So, I decided to setup a new workstation on my Raspberry Pi 4. However, it would not be an option for me without an encrypted root filesystem. I thought that it would be possible but tedious. It turned out to be quite straightforward.
The rest of this guide documents how to install NixOS on Raspberry Pi
4 (rpi4) with an encrypted root filesystem in a step-by-step
fashion.
Installation Media
Download SD card image from Hydra:
https://hydra.nixos.org/job/nixos/release-23.05/nixos.sd_image.aarch64-linux
This guide specifically uses this file from 2023-10-26:
nixos-sd-image-23.05.4527.60b9db998f71-aarch64-linux.img.zst
... from:
https://hydra.nixos.org/build/239386976
... by issuing the command:
nix-shell -p aria2 --run "aria2c -c --dir /tmp/nixos-image/ https://hydra.nixos.org/build/239386976/download/1/nixos-sd-image-23.05.4527.60b9db998f71-aarch64-linux.img.zst"
Then, uncompress the image:
nix-shell -p zstd --run "unzstd /tmp/nixos-image/nixos-sd-image-23.05.4527.60b9db998f71-aarch64-linux.img.zst"
Find the USB disk (or micro-SD card) device path:
lsblk
Write the image:
sudo dd if=/tmp/nixos-image/nixos-sd-image-23.05.4527.60b9db998f71-aarch64-linux.img of=/dev/<YOUR_DISK_OR_CARD>
Booting
You need to:
- boot from the image you burned above,
- attach the actual disk you want to install to (you can do this later, too),
- attach a keyboard and a monitor, and
- have access to a wired or wireless network.
As for network access, this guide assumes a wired network so as not to conflate the post any further. I used a wireless network myself first, and then, reproduced instructions later on a wired network.
Once you successfully boot your rpi4 from your NixOS image, follow the subsections below.
Network Configuration
Check if the network connection is established:
ping google.com
Find the interface name and the IP address assigned to it:
ip a
In my case, and most likely in your case, it is eth0:
ip a show dev eth0
Note the IP address, because we will use it in the next step.
SSH Connection
We want to continue the installation from a proper workstation. Luckily, the installation media already launched an SSH service. Therefore, we will setup authorised SSH keys, switch to the workstation and continue installation there.
First, add your SSH keys to your rpi4. I am using my SSH public keys stored on my GitHub account:
mkdir ~/.ssh
chmod 700 ~/.ssh
curl https://github.com/<GITHUB-USERNAME>.keys -o ~/.ssh/authorized_keys
Now, switch to your workstation, and connect to your rpi4:
ssh nixos@<RPI4-IP-ADDRESS>
Optionally, launch a screen on your rpi4 and follow the installation procedure inside:
screen -S INSTALLATION
Partitioning
First, connect the disk that you will install the root filesystem to. Then, check device information:
lsblk
In my case, it is /dev/sda. Find yours, and export it as a shell
environment variable:
export DEVICE_ROOT="/dev/sda"
Also, export your installation media disk path (in my case, it is
/dev/sdb):
export DEVICE_INST="/dev/sdb"
Next, wipe the data on the disk:
sudo wipefs -a "${DEVICE_ROOT}"
And create 2 partitions (one for boot partition and one for LUKS partition):
sudo parted "${DEVICE_ROOT}" -- mklabel gpt
sudo parted "${DEVICE_ROOT}" -- mkpart ESP fat32 1MiB 512MiB
sudo parted "${DEVICE_ROOT}" -- set 1 boot on
sudo parted "${DEVICE_ROOT}" -- mkpart primary 512MiB 100%
Note that
partedmay warn you about optimal disk alignment. You may ignore them. This is possibly due to the quality of the USB disk enclosure or connector. It seems that some USB-connected disks are misrepresented in their optimal configuration, which confuses the alignment calculations and results in bogus warnings. I do not know any further.
Now, setup the encrypted LUKS partition, and open it:
sudo cryptsetup luksFormat "${DEVICE_ROOT}2"
sudo cryptsetup luksOpen "${DEVICE_ROOT}2" enc-pv
Next, we will create two logical volumes on the LUKS partition:
- One for a 8GB swap partition, and
- The rest for our root filesystem.
sudo pvcreate /dev/mapper/enc-pv
sudo vgcreate vg /dev/mapper/enc-pv
sudo lvcreate -L 8G -n swap vg
sudo lvcreate -l '100%FREE' -n root vg
Format the partitions and volumes:
sudo mkfs.fat "${DEVICE_ROOT}1"
sudo mkfs.ext4 -L root /dev/vg/root
sudo mkswap -L swap /dev/vg/swap
Then, mount filesystems:
sudo mount /dev/vg/root /mnt
sudo mkdir /mnt/boot
sudo mount "${DEVICE_ROOT}1" /mnt/boot
sudo swapon /dev/vg/swap
Finally, copy the firmware from your installation media to your boot partition:
sudo mkdir /firmware
sudo mount "${DEVICE_INST}1" /firmware
sudo cp /firmware/* /mnt/boot
sudo umount /firmware
Installation
Generate NixOS configuration:
sudo nixos-generate-config --root /mnt
Now, note the device ID of unencrypted ${DEVICE_ROOT}2 (/dev/sda2
in my case, 37e51822-c30e-4027-a746-562778c20df0):
lsblk --fs
Now, change the below according to your needs (let section should be
enough) and put it in your /mnt/etc/nixos/configuration.nix file on
rpi4:
{ pkgs, ... }:

let
  luksroot = "/dev/disk/by-uuid/37e51822-c30e-4027-a746-562778c20df0";
  hostname = "pixos";
  timezone = "UTC";
  username = "patron";
  sshkeys = [
    "ssh-ed25519 AAAAC3Nz..."
    "ssh-ed25519 AAAAC3Nz..."
  ];
in
{
  ## Perform required imports:
  imports = [
    ./hardware-configuration.nix
  ];

  ## Boot configuration:
  boot = {
    ## Boot loader configuration:
    loader = {
      ## Disable GRUB to use the extlinux boot loader (NixOS wants to enable GRUB by default):
      grub.enable = false;

      ## Enables the generation of /boot/extlinux/extlinux.conf:
      generic-extlinux-compatible.enable = true;
    };

    ## Use the kernel packaged for Raspberry Pi 4:
    kernelPackages = pkgs.linuxKernel.packages.linux_rpi4;

    ## Configure initrd for LUKS root:
    initrd.luks.devices.luksroot = {
      device = luksroot;
      preLVM = true;
      allowDiscards = true;
    };
  };

  ## Set the timezone:
  time.timeZone = timezone;

  ## Set default locale:
  i18n.defaultLocale = "en_US.UTF-8";

  ## Configure console:
  console = {
    font = "Lat2-Terminus16";
    keyMap = "us";
  };

  ## Configure networking:
  networking = {
    ## Set the hostname:
    hostName = hostname;

    ## Enable Network Manager:
    networkmanager.enable = true;

    ## Enable and configure firewall:
    firewall = {
      enable = true;
      allowedTCPPorts = [ ];
      allowedUDPPorts = [ ];
    };
  };

  ## Setup services:
  services = {
    ## Enable the OpenSSH service:
    openssh.enable = true;
  };

  ## Install system-wide packages:
  environment.systemPackages = [
    pkgs.vim
    pkgs.wget
  ];

  ## Create a user:
  users.users."${username}" = {
    isNormalUser = true;
    extraGroups = [
      "wheel"
    ];
    packages = [ ];
    openssh.authorizedKeys.keys = sshkeys;
  };

  # This value determines the NixOS release from which the default
  # settings for stateful data, like file locations and database versions
  # on your system were taken. It's perfectly fine and recommended to leave
  # this value at the release version of the first install of this system.
  # Before changing this value read the documentation for this option
  # (e.g. man configuration.nix or on https://nixos.org/nixos/options.html).
  system.stateVersion = "23.05"; # Did you read the comment?
}
Then, install:
time sudo nixos-install --no-root-password
Set a root password:
sudo passwd --root /mnt root
Reboot:
sudo shutdown -r now
If things go wrong...
If the system does not boot, and you need to reconfigure it using the installation media, reboot from the installation media.
Then, note the disk ID as it may have changed:
lsblk --fs
In my case, it is still /dev/sda. Find yours, and export it as a
shell environment variable:
export DEVICE_ROOT="/dev/sda"
Open encrypted luks:
sudo cryptsetup luksOpen "/dev/${DEVICE_ROOT}2" enc-pv
Mount stuff:
sudo lvchange -a y /dev/vg/swap
sudo lvchange -a y /dev/vg/root
sudo mount /dev/vg/root /mnt
sudo mount "${DEVICE_ROOT}1" /mnt/boot
sudo swapon /dev/vg/swap
Make your changes and re-install:
time sudo nixos-install
That's it.